October 2, 2026
Planning a home renovation brings a lot of excitement, especially when updating your kitchen or bathroom storage. Upgrading your home with a fresh custom cabinet project can completely transform the look, layout, and functionality of your space. While looking at design samples and finishes is fun, the actual setup process requires careful preparation and clear communication. Knowing what steps happen on installation day helps you prepare your home and family for a smooth transition. Understanding the process removes guesswork and keeps your project moving forward without unnecessary stress. Taking the time to learn about the workflow ensures that you feel completely comfortable while skilled installers bring your vision to life.
Preparing the Space for Delivery and Setup
Before any physical work starts, preparing your home environment makes a massive difference in how efficiently the day goes. Installers need a clear, safe path to haul heavy wood boxes, drawers, and trim into your room. You will want to remove all personal items, cookware, and decorative pieces from existing storage areas prior to arrival. Clearing out hallways, entry doors, and adjacent rooms ensures workers carry each custom cabinet inside safely without bumping into walls or furniture. Covering nearby furniture with plastic sheeting also protects your belongings from airborne sawdust that naturally occurs during fine-tuning adjustments. Taking these simple preventative steps minimizes disruption to your daily routine and protects your household items throughout the day.
Navigating the Initial Delivery and Staging in Your Home
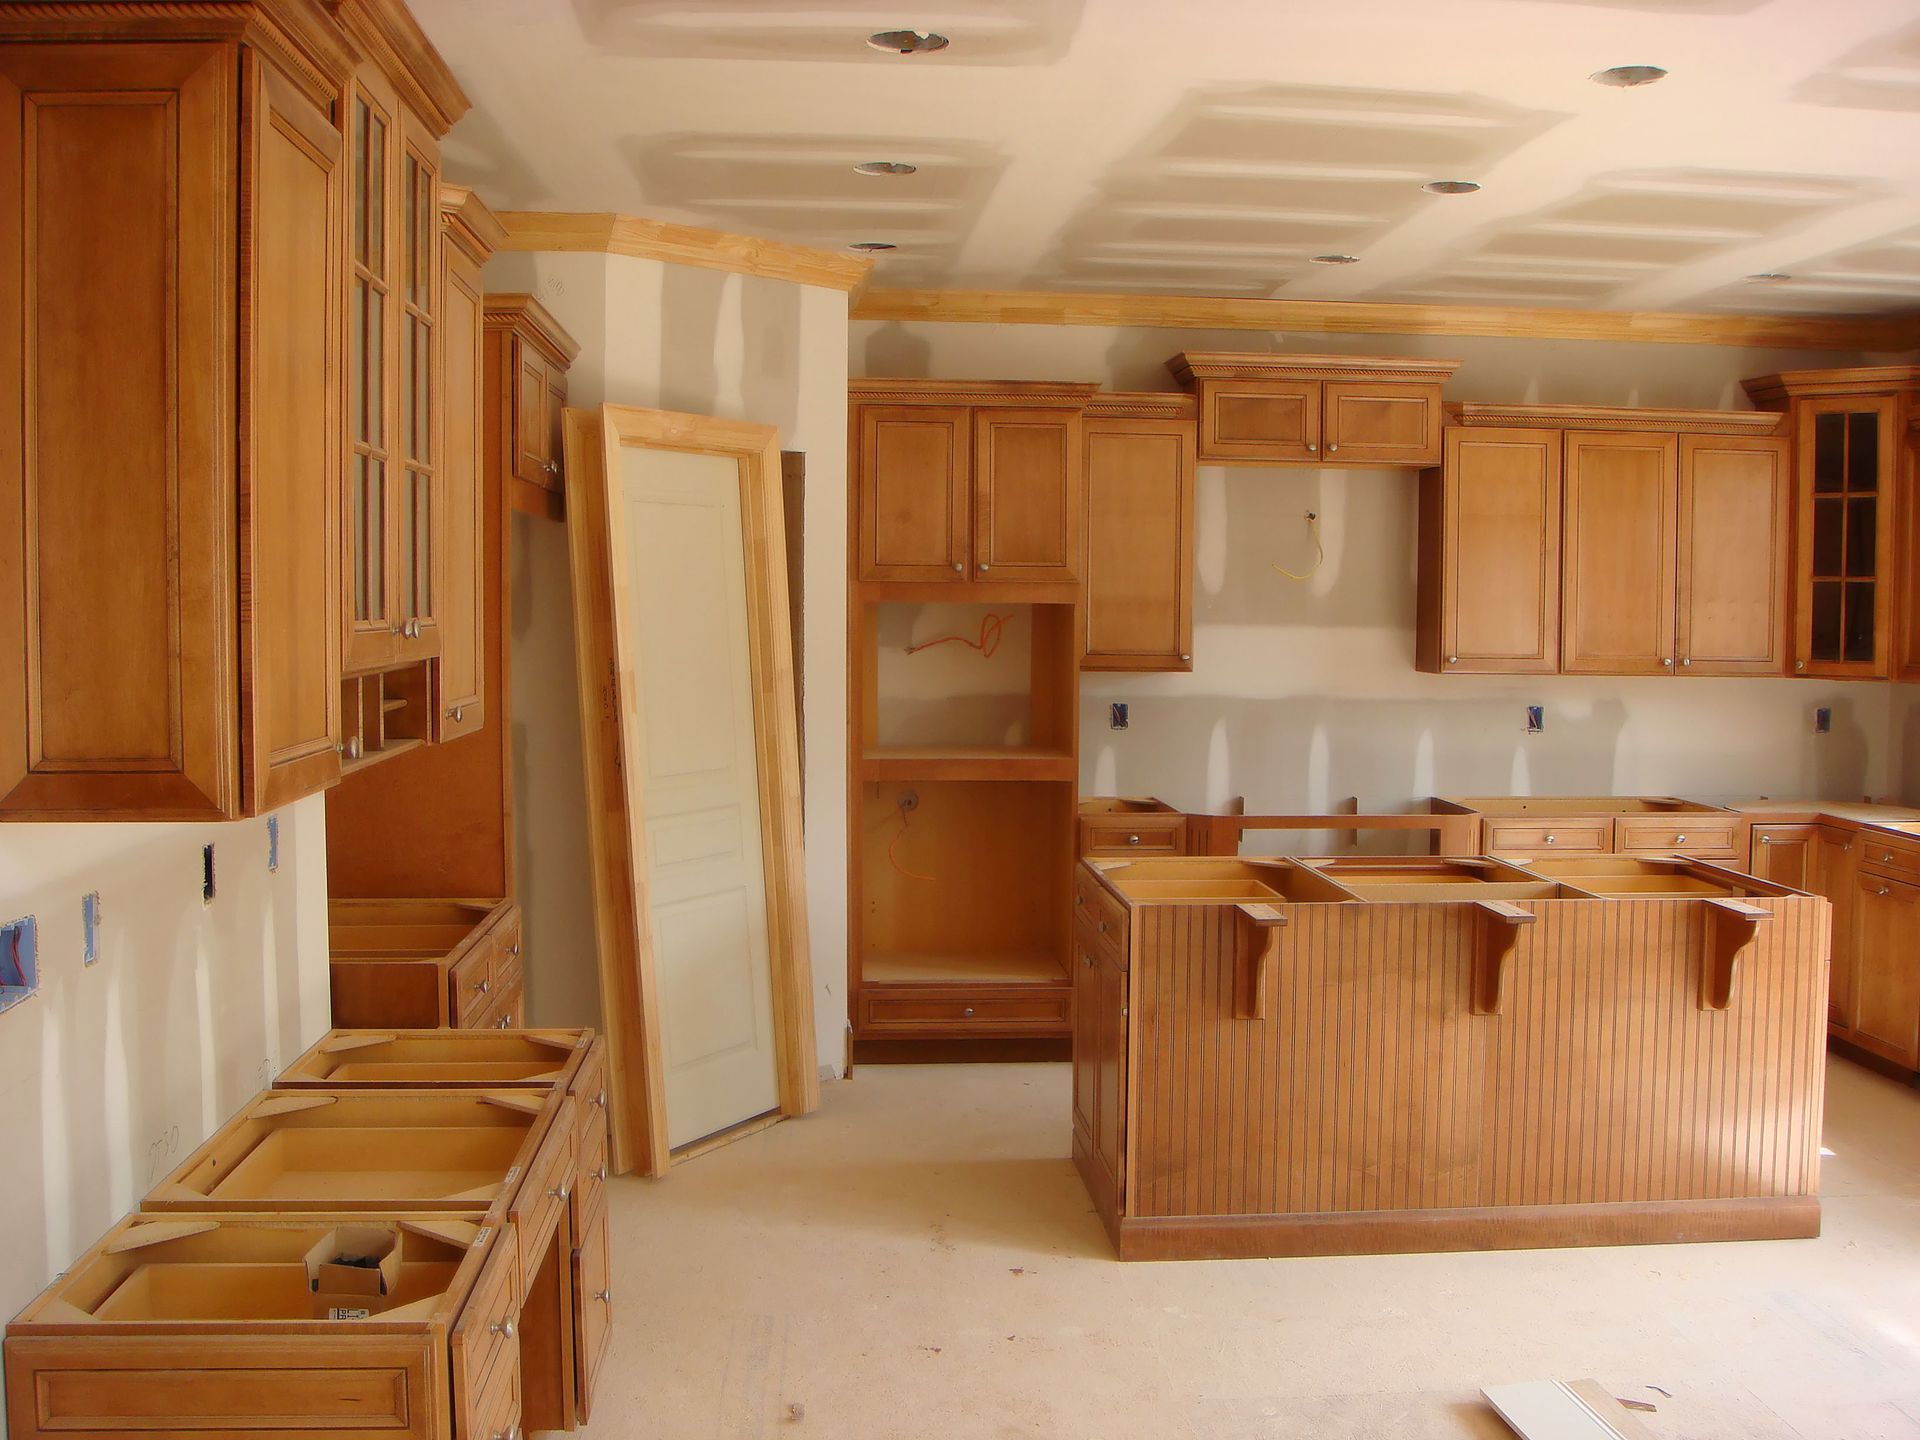
When the delivery truck arrives, workers systematically unload all materials into a designated staging area. Having your garage or an adjacent living room open gives the team a clean spot to unbox each custom cabinet and inspect the finish for transit damage. The crew will verify hardware inventory, decorative molding, toe kicks, and adjustable shelving units against your design blueprints. Organizing components by location before mounting them to walls saves significant time during the actual fitting process. Staging everything properly allows the team to double-check that every piece matches the precise dimensions of your design layout before installation begins.
Removing Old Storage and Wall Evaluation
If your project involves replacing existing structures, teardown happens first. The crew carefully disconnects old framing, unfastens mounting screws, and removes old boxes without damaging your drywall or surrounding trim. Once walls are bare, installers examine surface levelness and structural integrity. Every custom cabinet requires a solid foundation, so technicians locate wall studs, mark reference lines, and inspect electrical outlets or plumbing stubs to ensure seamless alignment during mounting. Checking these structural elements early prevents unexpected delays once the heavy mounting work starts.
Establishing High Points and Level Baseline Lines
Homes rarely feature perfectly square corners or flat floors, making baseline measuring essential for every project. Installers use laser levels to identify the highest point along your floor line and draw a straight horizontal line across the drywall. This reference line ensures every custom cabinet sits completely level across the entire room. Establishing this baseline early prevents awkward gaps, sloping countertops, and misaligned doors down the road. Taking extra care during this preliminary stage provides a reliable guide for every section of storage that goes up on your walls.
Securing Upper Boxes to Wall Studs
Upper storage units generally go up before base units so installers have open space underneath to work safely. According to Market Reports World, average installation projects include between 12 and 18 custom cabinets per kitchen or bathroom. Technicians temporarily support each upper unit using adjustable jacks or ledger boards attached to the wall. Long cabinet screws drive directly into structural studs, ensuring each unit holds heavy dishware or bath supplies securely without sagging over time. Securing these boxes firmly protects both your home structure and the items you store inside for years to come.
Fitting and Fastening Base Storage Units
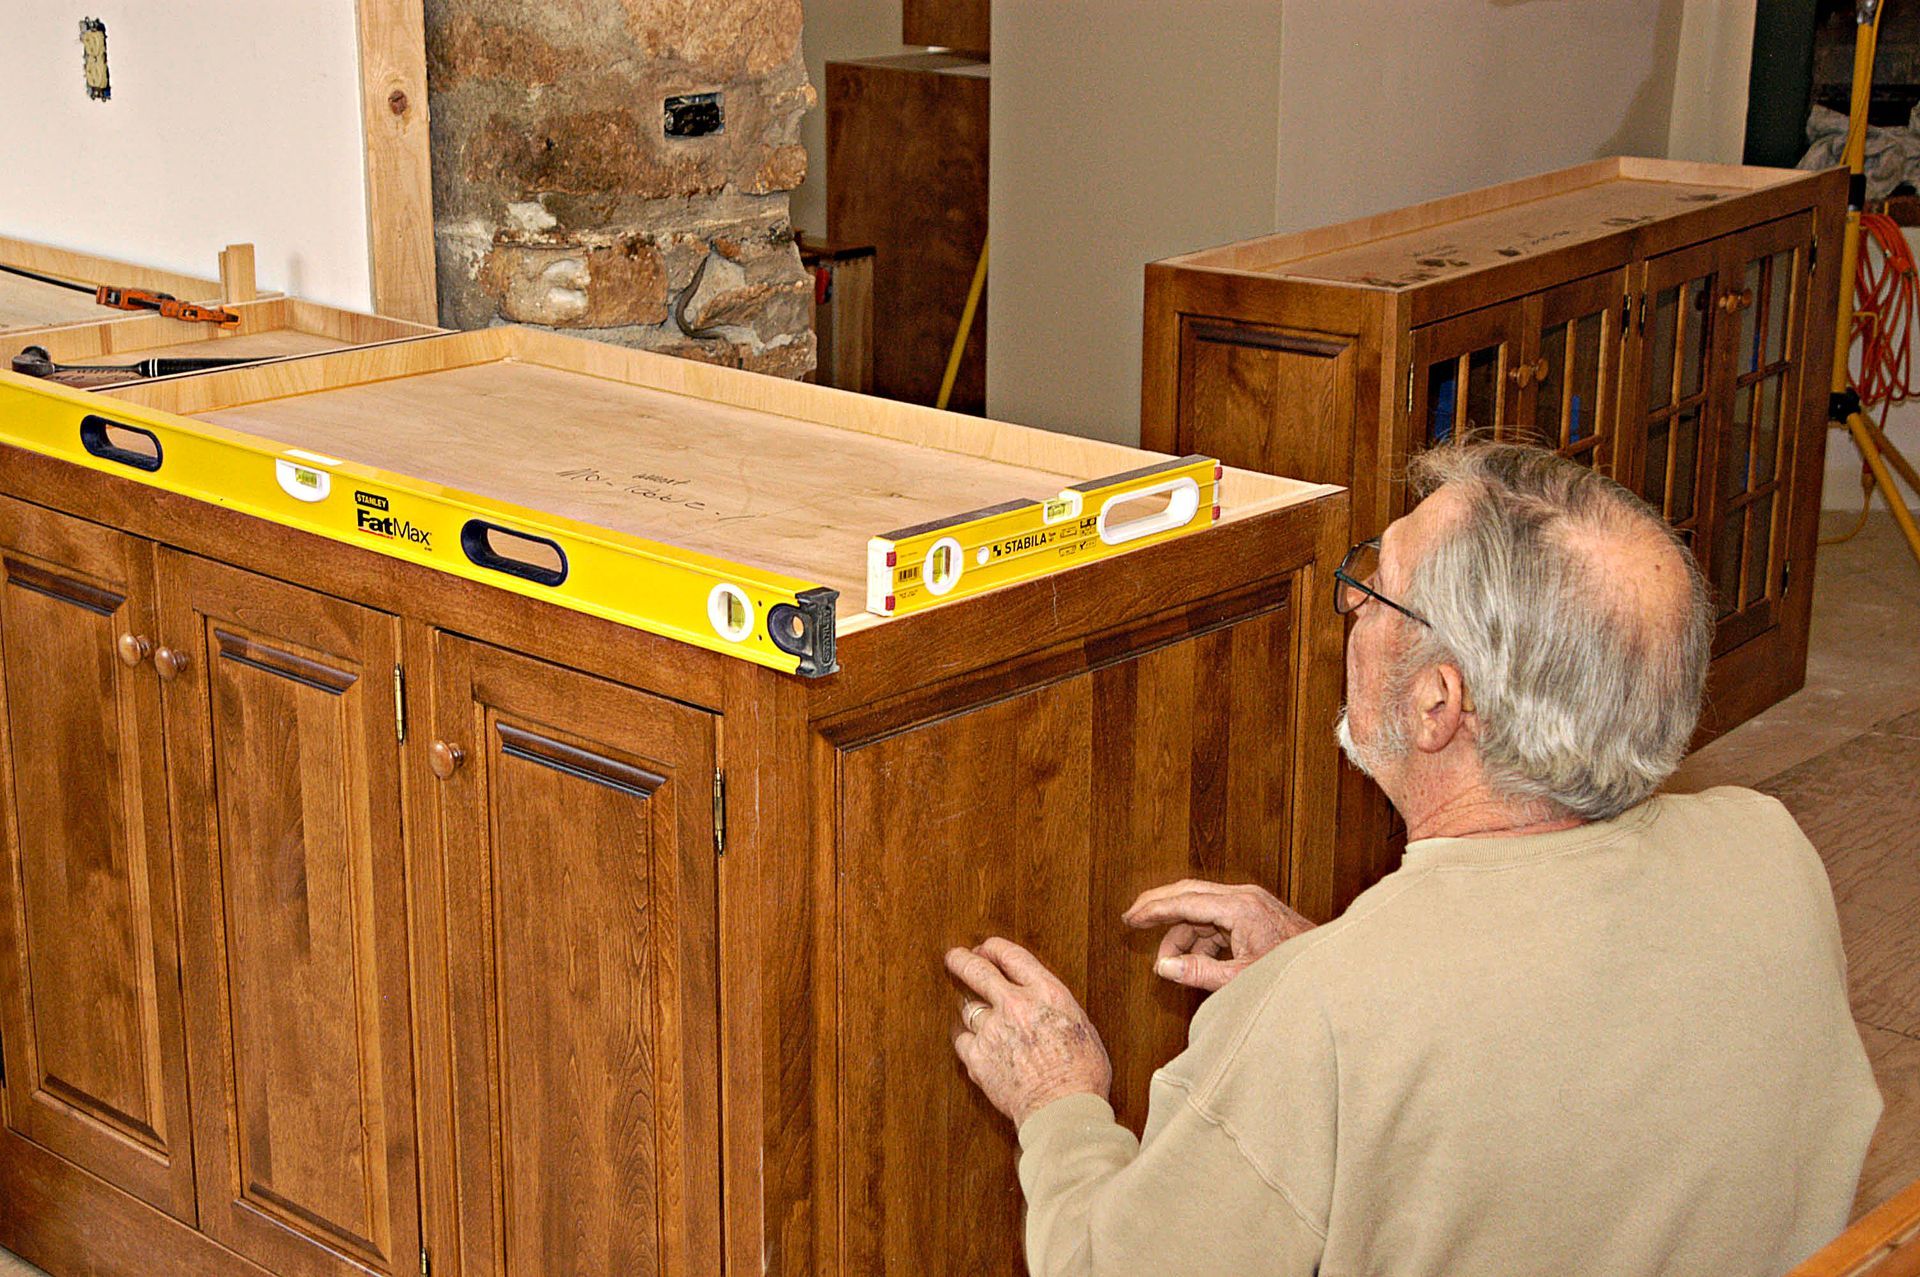
After upper units are firmly mounted, attention shifts toward the base layout. Base units must sit perfectly flat to support heavy stone, quartz, or butcher block countertops later on. Installers place each custom cabinet in order, using wooden shims underneath or behind the frames to correct floor slope variations. Neighboring face frames are clamped tightly together and joined with specialized screws, forming a continuous, rock-solid layout across your room. Careful shimming guarantees that your future countertops rest on a completely flat, sturdy surface. Taking time during this phase prevents structural stress on both the frames and the heavy counter surfaces that will be installed above them.
Measuring and Attaching Trim and Fillers
Walls in residential structures are seldom perfectly straight, leaving slight gaps between the wood frames and your drywall. Installers carefully scribe filler strips and decorative molding to mirror the exact contours of your walls and ceiling. Cutting scribed pieces on site guarantees each custom cabinet fits flush against surrounding architecture. Crown molding along the top and light valances along the bottom give the entire assembly a finished, built-in appearance. These custom-fitted trim pieces eliminate unsightly gaps and blend your new furniture seamlessly into the existing room design.
Hanging Doors and Calibrating Hinge Mechanisms
With frames securely fastened to studs, workers attach doors and slide drawer boxes into their respective openings. Fine adjustments are necessary to align door edges and ensure equal margins across the entire layout. Modern European hinges allow installers to adjust each custom cabinet door up, down, left, right, in, or out using precise adjustment screws. This calibration step creates straight sightlines and prevents doors from rubbing against adjacent frames during daily use. Precise alignment brings symmetry to the space and ensures smooth, long-term operation.
Installing Pulls and Integrated Organizational Accessories
Attaching decorative hardware adds function and personality to your new layout. Installers utilize precise jigs to drill mounting holes for handles, pulls, and knobs in consistent locations across every custom cabinet door and drawer front. Internal storage accessories, such as roll-out trays, spice racks, and trash pull-outs, are mounted and tested during this phase to ensure smooth, effortless operation without sticking. Fine-tuning these internal mechanisms makes organizing your everyday kitchen or bathroom essentials simple and convenient.
Conducting a Final Inspection and Job Site Cleanup
Before wrapping up the job, the lead installer conducts a thorough walk-through of the finished space. Every drawer is opened, every door is swung, and all surfaces are wiped clean to clear away sawdust or fingerprints. The crew checks that every custom cabinet remains plumb, level, and securely anchored to the building structure. Once the work area is vacuumed and packing debris is loaded onto the truck, your upgraded room is officially ready for countertop measuring or immediate use. Leaving the space tidy ensures you can immediately enjoy your upgraded home environment without extra hassle. This final detailed review guarantees that every component functions properly before the installation team departs.
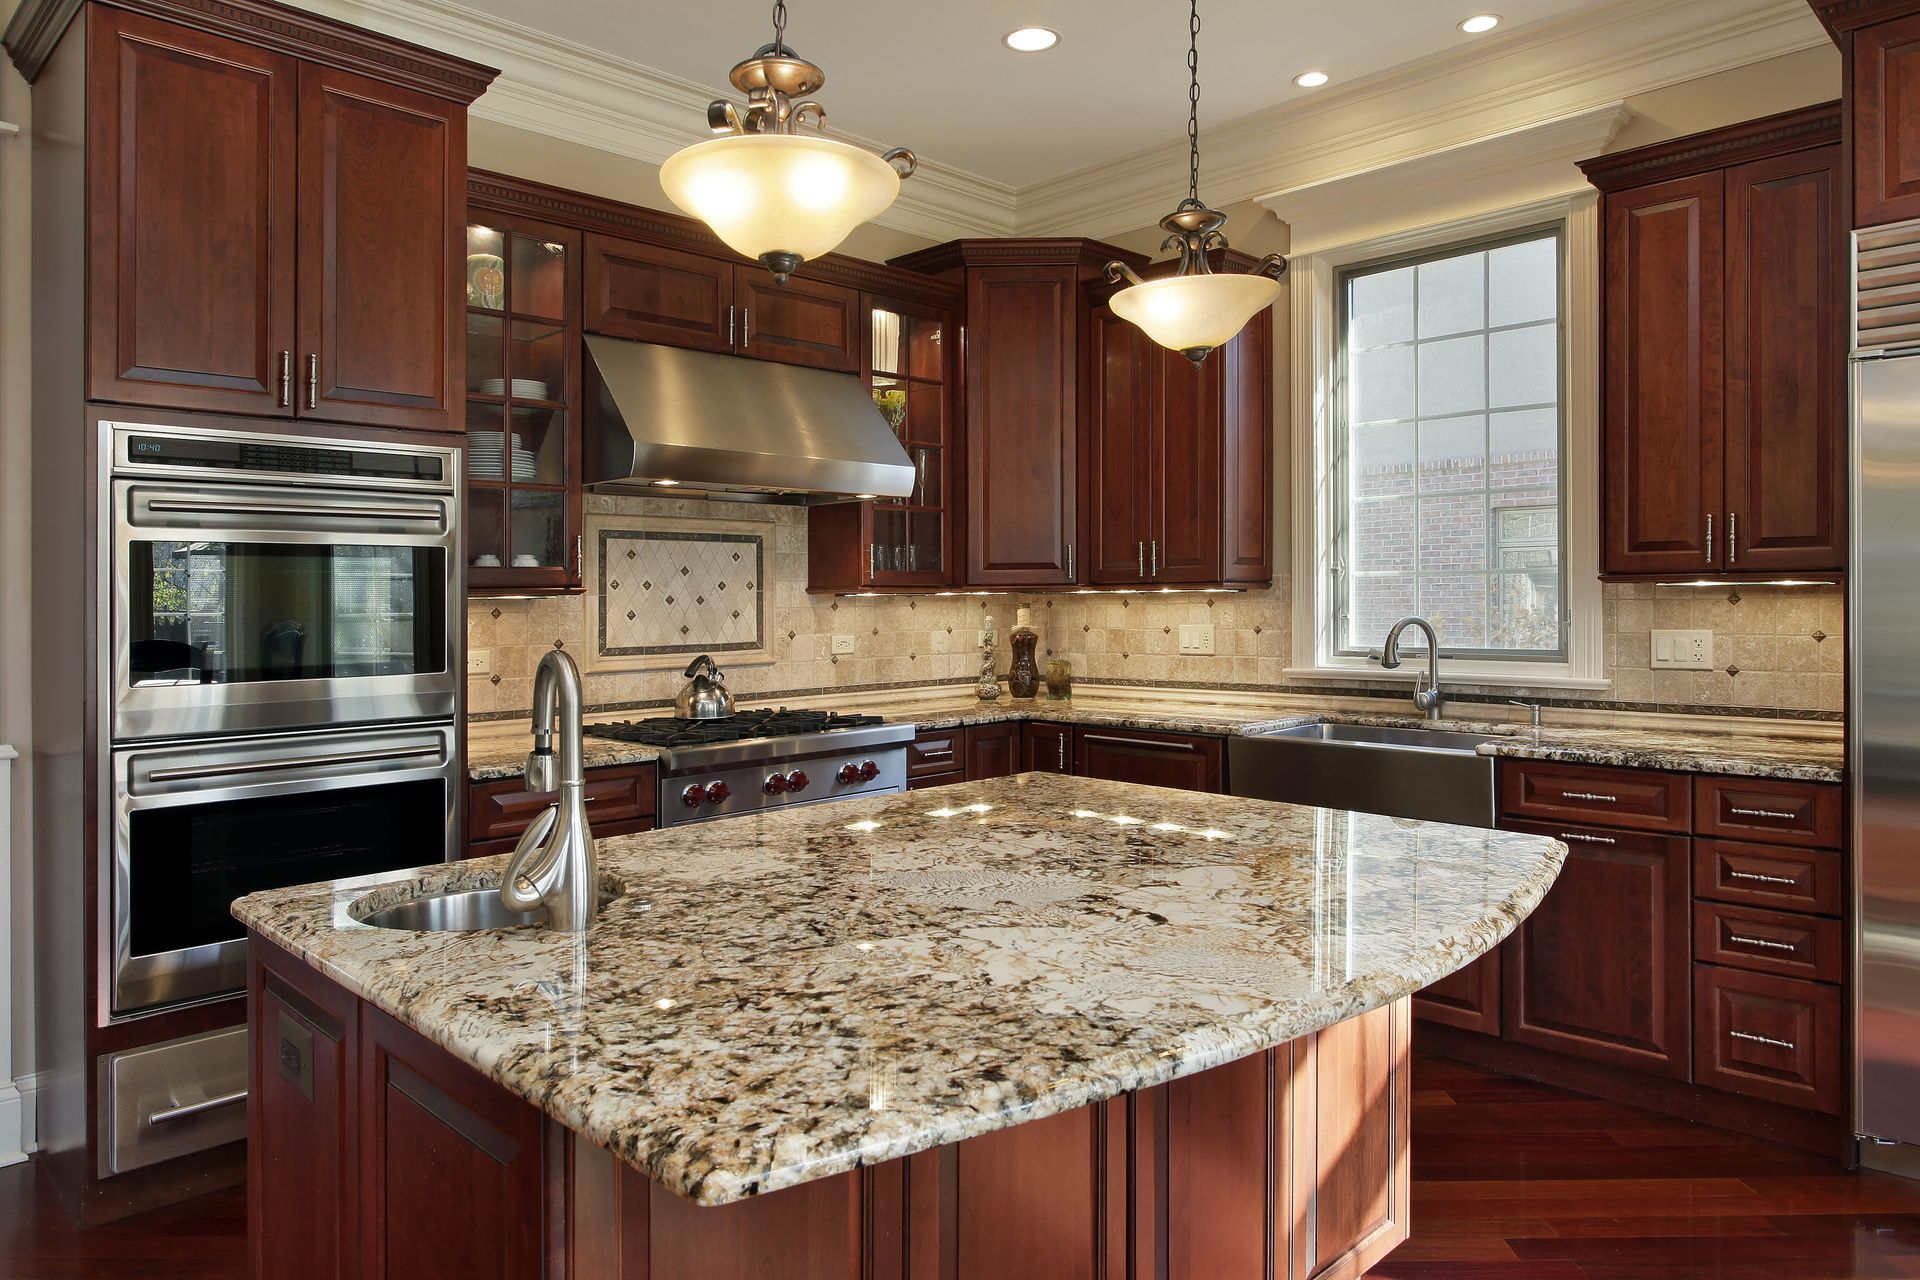
Experiencing a professional installation transforms your home, providing structured organization, enhanced usability, and long-lasting beauty. Knowing what to expect at each stage allows you to navigate the installation week with total confidence and ease. When you work with skilled craftspeople who value clear communication and precise execution, watching your initial vision come to life becomes an enjoyable, rewarding process. Upgrading your storage not only elevates your everyday routines but also adds real functional value to your living space. If you are ready to design your dream kitchen or bath layout, contact Ortega Custom Cabinets to begin planning your personalized project today.